It's about time I finally setup a Newsletter! 🎉 So here it is, stay up to date with my 📰 latest articles or 📺 YouTube videos! Be Sure To: Check...
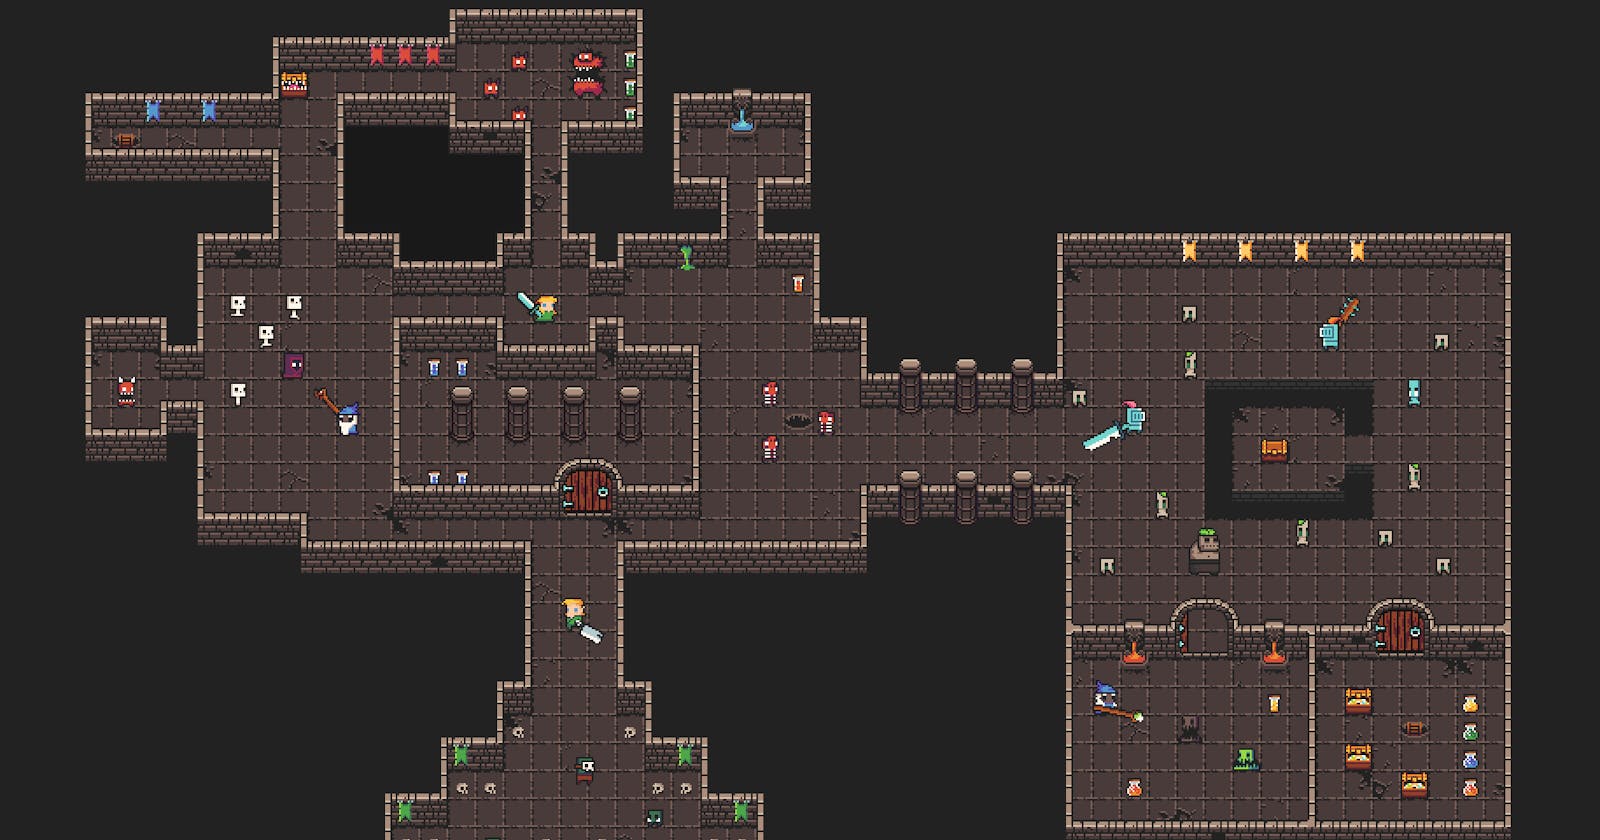
There is still a lot of work to be done, but I finally have something "playable" 🔥 I would describe it as a mashup of Mine Sweeper and a rogue-like...
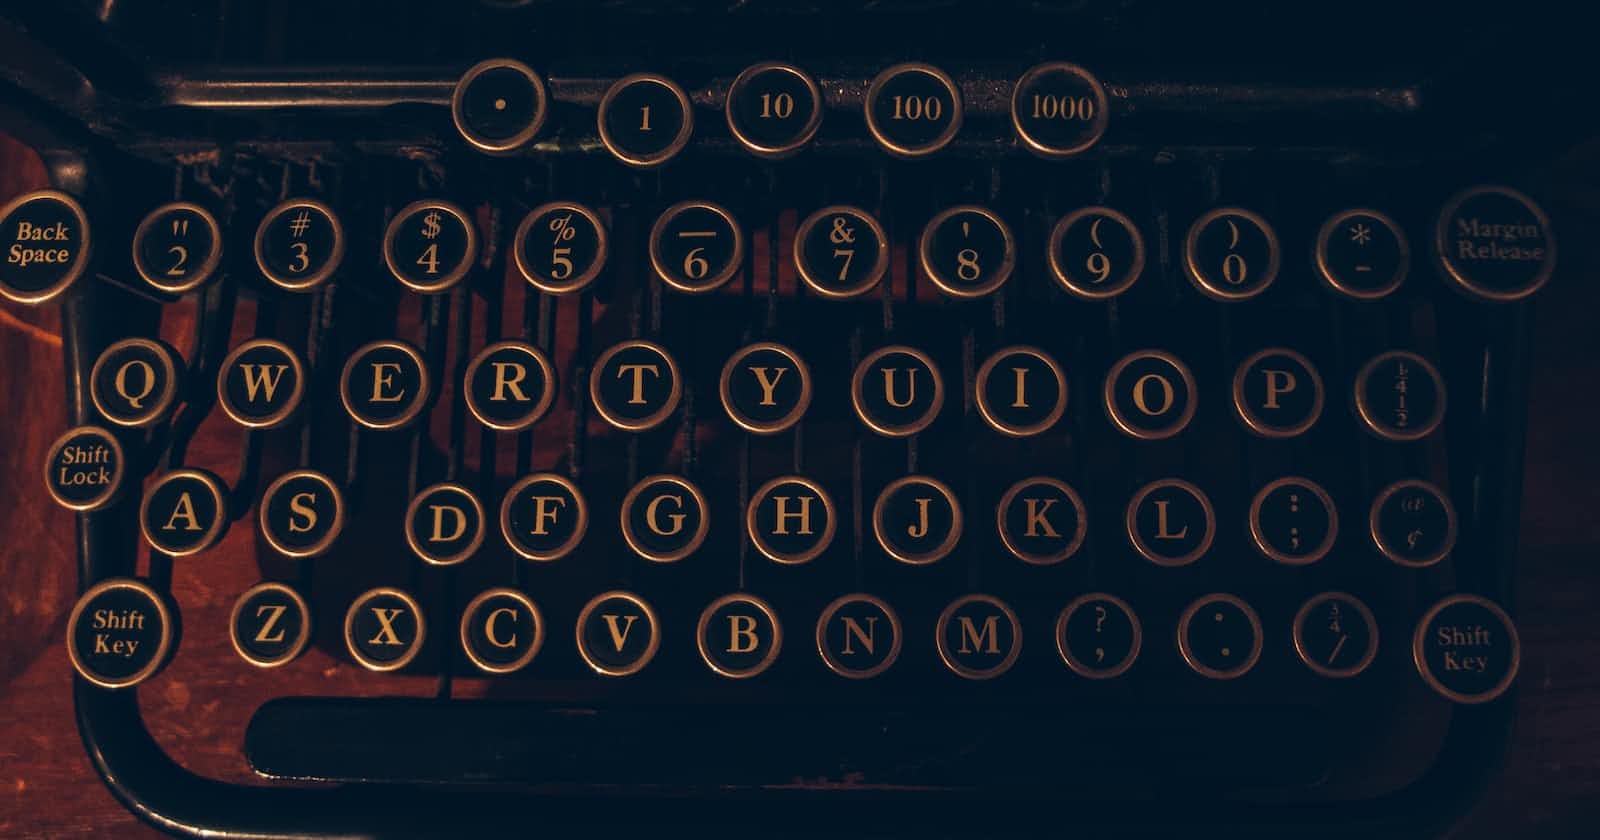
I recently added some dialog options for my indie game, Dungeon Sweeper: A Knights Adventure and wanted to create a TypeWriter effect for the dialog...
TL;DR: I discuss adding intuitive features, dealing with Phaser quirks such as a tween memory leak and scaling issues, managing screen size, and...
It's starting to feel like a real game! Ok. It's still in the "prototype" phase. The gameplay basics are there, but it's still not ready for a demo....
tl;dr I posted Gameplay Video on Twitter. Added some graphical flair to the dungeon. Found some free sound effects. Huge Gameplay pivot to rogue-like....